QRCode Wizard Guide
Download on the Mac App StoreDownload on the Microsoft StoreIntroduction
This guide will take you through the main features provided when generating QR Codes.

Steps include:
- Input Information (e.g. Website Address)
- Select QR Code Image Format
- Styling Options
- Add logo or image
- Shapes used to create the QR Code (Module Drawer)
- Color masks overlayed on QR Code
- Dimensions of final QR Code
- Create QR Code
- Save QR Code
Input Information
At the top left of the app, you will find an input option highlighted in blue. Add the information that you would like the QR Code to capture. The type of information that can be captured includes:
- Website URLs
- Emails
- Contacts
- Location Links
- Any Link
Text Editor
To make it easier to type the information that you want the QR Code to capture, you can click the 'Open Text Editor' button found to the right of the 'Website | Email | Contact | Location' label. Once clicked, the text editor below will open.

Type in the information you want the QR Code to capture, and click 'Insert' to proceed.
Contact Template
When creating a QR Code for a contact, you can simply click the 'Contact Template' button found to the top-right of the text editor. Once clicked, a vCard version 3.0 template will be loaded onto the text editor. A vCard is a digital file format that stores and shares contact information like names, phone numbers, emails, and addresses, allowing easy and error-free transfer of contact details across devices and platforms. Version 3.0 works on both Android and iOS, and is backward compatible on a range of devices.

The template in the text editor should match the one below.
BEGIN:VCARD
VERSION:3.0
N:Lastname;Firstname
FN:Firstname Lastname
ORG:CompanyName
TITLE:JobTitle
ADR:;;123 Sesame St;SomeCity;CA;12345;USA
TEL;WORK;VOICE:1234567890
TEL;CELL:Mobile
TEL;FAX:
EMAIL;WORK;INTERNET:[email protected]
URL:https://website.com
URL:https://website.com
NOTE:This is a note about the contact.
END:VCARD
Add the information you want to capture in the relevant contact fields, and click 'Insert' to proceed.
Calendar Event Template
In addition to the Contact Template, QRCode Wizard also includes a standard Calendar Template used for encoding calendar events in QR codes, typically based on the iCalendar (ICS) format. This format includes fields such as event title, start and end date/time, location, timezone, and optional description or organizer details. When scanned, it allows a device's calendar application (Apple Calendar, Google Calendar, Outlook, etc.) to create an event entry directly. Click the 'Calendar Event' button found just below the 'Contact Template' button to load this template to the Text Editor.

The template in the text editor should match the one below.
BEGIN:VEVENT
SUMMARY:Meeting with Team
DTSTART:20251118T090000
DTEND:20251118T100000
LOCATION:123 Office St, Cityville
DESCRIPTION:Discuss project milestones and deadlines
END:VEVENT
The DTSTART and DTEND times in iCalendar format follow a specific format defined by the standard, which is either a full date-time format like YYYYMMDDTHHMMSSZ (for UTC time), a local date-time format without the 'Z' suffix, e.g., YYYYMMDDTHHMMSS, or just a date without time if the event is all-day, using YYYYMMDD. The template in QRCode Wizard follows the local date-time format YYYYMMDDTHHMMSS, however, any of the above will work.
Add your calendar event's details to the relevant fields, and click 'Insert' to proceed.
QR Code Format
You can create QR Codes in two formats:
- PNG: This is a widely used image format known for maintaining high image quality and supporting transparency.
- Scalable Vector Graphics (SVG): Images created in this format can be scaled infinitely without losing quality, making them ideal for responsive web design and high-resolution displays.
Pick the format that best suits your use case.
Styling Options (PNG)
The styling options below show how you can customize your QR Code.
Foreground Color, Background Color and Transparency
Select 'Foreground Color' to pick the primary color for your QR Code.
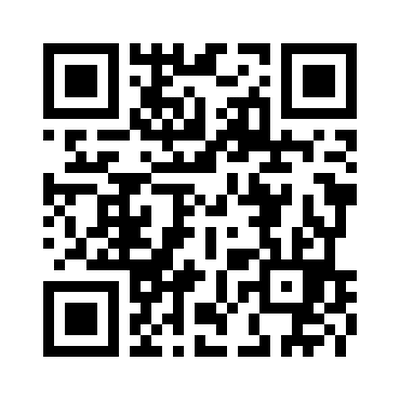
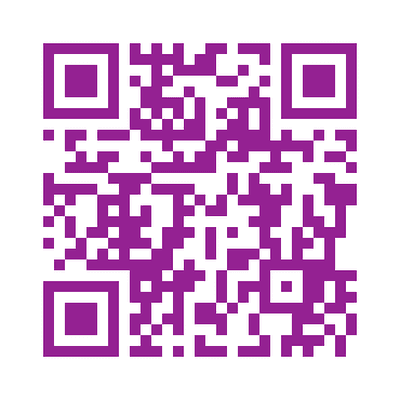
Select 'Background Color' to pick the color that will fill the background of your QR Code. It is white by default.
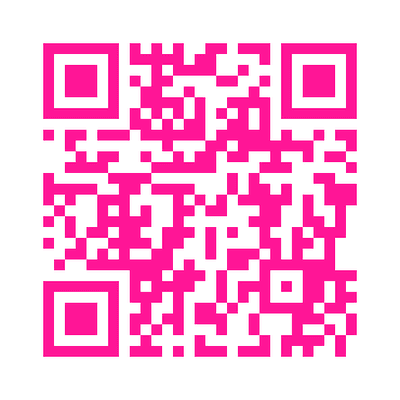
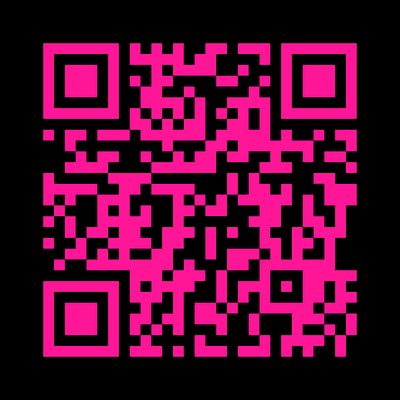
Select 'Transparent Background' to get rid of a background color altogether.


These options are particularly useful if you want to make your QR Code match the colors of your brand.
Embed Logo Or Image
Select the Add logo checkbox. A dialog box will open, with the option to select an image file to be embedded in the QR Code. Acceptable file formats include PNG and JPEG (.png and .jpeg).
The image selected will be reduced to an appropriate size and pasted at the centre of the QR Code.
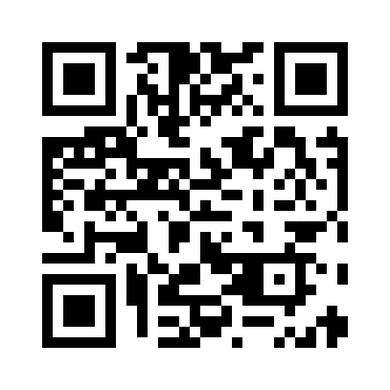
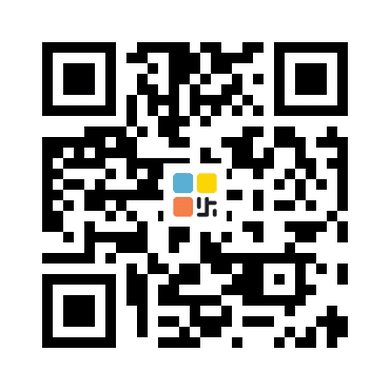
Border (QR Code Margin)
This option enables/disables the margin that is added around the QR Code. The border is enabled by default.


Module Drawer
This option affects the shapes used to generate the QR Code. The figure below shows all options available in the dropdown menu.

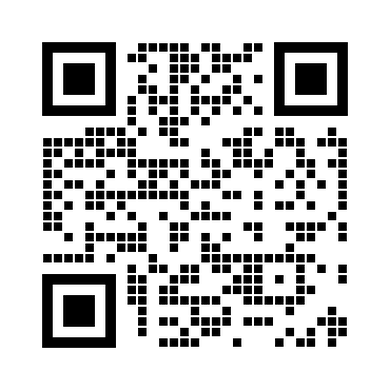
Square Module Drawer
Gapped Square Module Drawer


Circle Module Drawer
Rounded Module Drawer


Vertical Bars Drawer
Horizontal Bars Drawer
Color Mask
The QR Code could either be in plain black, or have a blue shade overlay, as shown in the figure below.


Radial Gradient Color Mask
Square Gradient Color Mask


Horizontal Gradient Color Mask
Vertical Gradient Color Mask
Combinations
Mix and match the styling options to come up with a QR Code that best suits your needs.


Add Logo
Rounded Module Drawer
Radial Gradient Color Mask
Add Logo
Circle Module Drawer
Horizontal Gradient Color Mask
Dimensions
Depending on where you want to place your QR Code, you can increase or decrease the size of the final QR Code that can be saved. By default, the size 400 x 400 pixels is set. At present, the dimensions that can be set range from 200 - 1000 pixels.
Styling Options (SVG)
The styling options below are available for QR Codes in the SVG Format.
Foreground Color
Select 'Foreground Color' to pick the primary color for your QR Code.
QR Codes in this format will have a transparent background.
Border (QR Code Margin)
This option enables/disables the margin that is added around the QR Code. The border is enabled by default.
Module Drawer
This option affects the shapes used to generate the QR Code. The SVG Format has two options:
Square Drawer
Circle Drawer
Create
Select the Create button to see a preview of the generated QR Code, with the url and style options set.
Save
As the name suggests, use the Save button to export the QR Code to a location of your choice on your device. The QR Code will be saved in the Image Format you selected at the start.

Copy (SVG Only)
Select the Copy button, and the QR Code in XML Format will be added to your device's clipboard, allowing you to paste it wherever you want.

Feedback
For any further information, provide feedback or report bugs, contact us at [email protected].
Privacy Policy
- QRCode Wizard does not collect or store any personally identifiable information.
- You are not required to register an account in order to use the Application.