Gain A Better Understanding
Analyse A Replica Of Your Patient's Anatomy
How It Works
Step 1
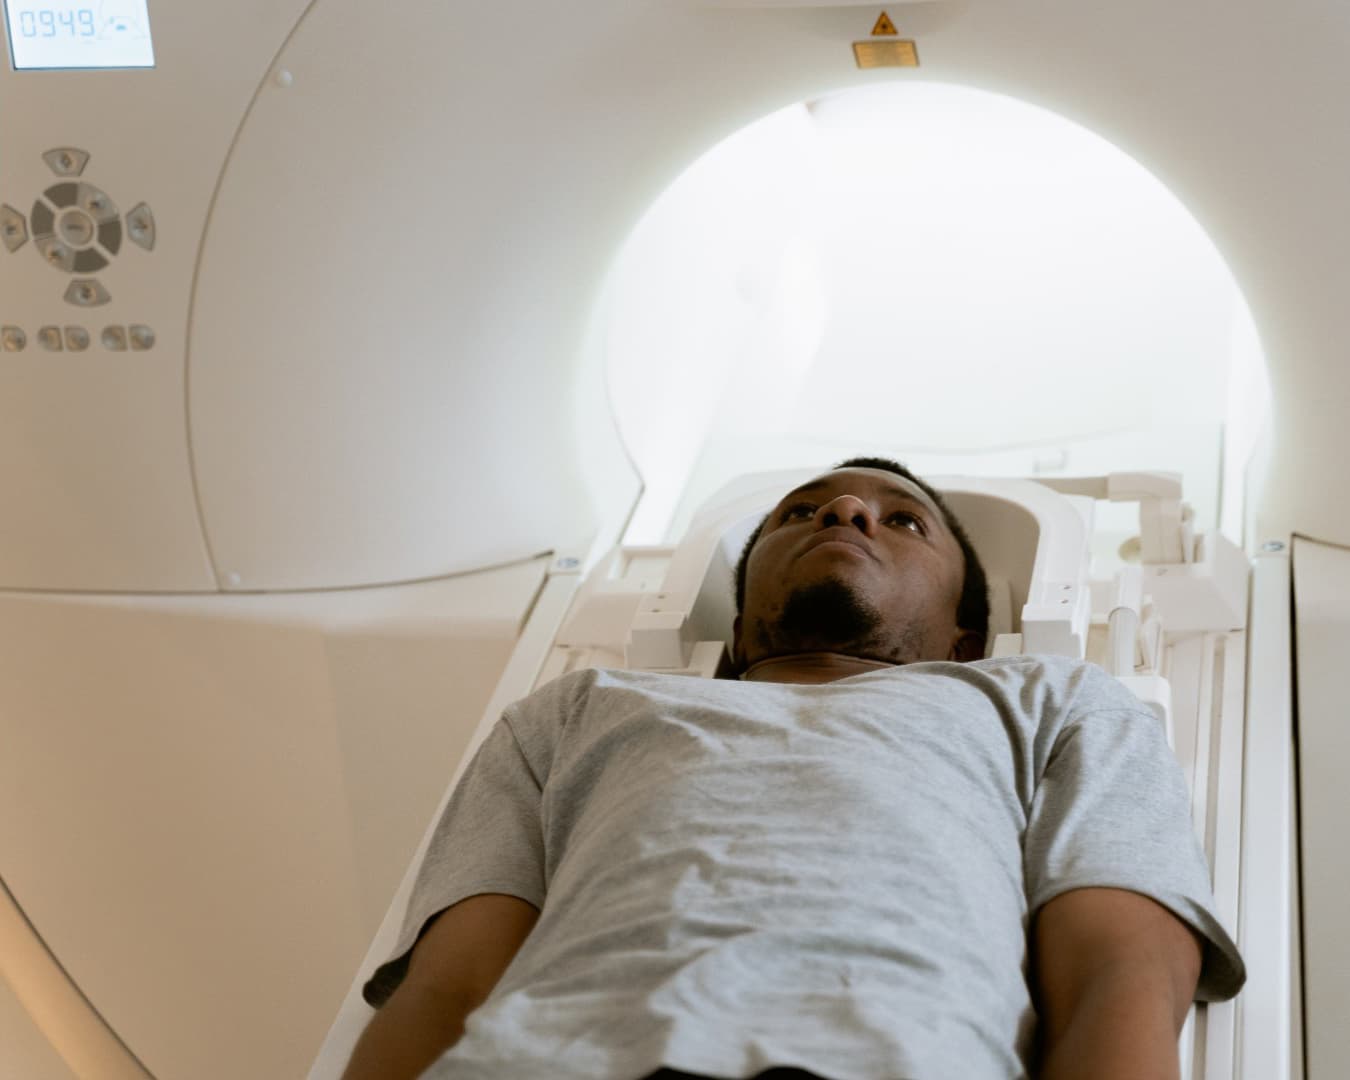
A physician sends a patient for a CT scan, to help diagnose diseases and evaluate injuries.
The CT scan makes use of computers and rotating X-ray machines to create 2D cross-sectional images ("slices") of the body.
The computer stacks these slices on top of one another, creating detailed images of the patient's organs, bones or blood vessels.
Step 2
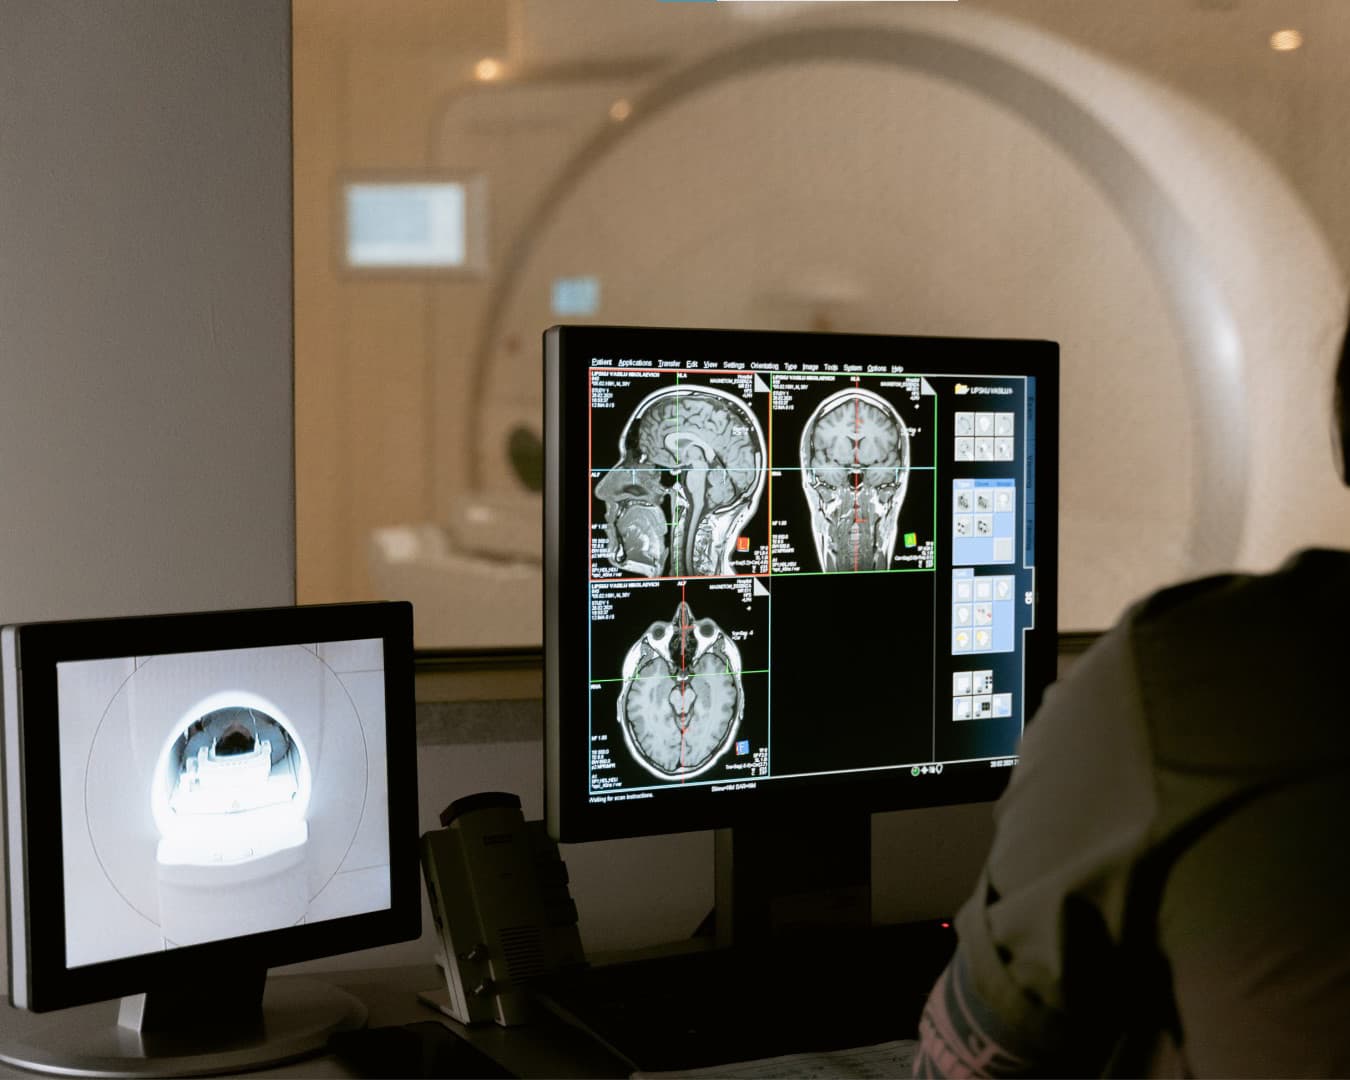
The physician/radiologist shares these images with us, for processing.
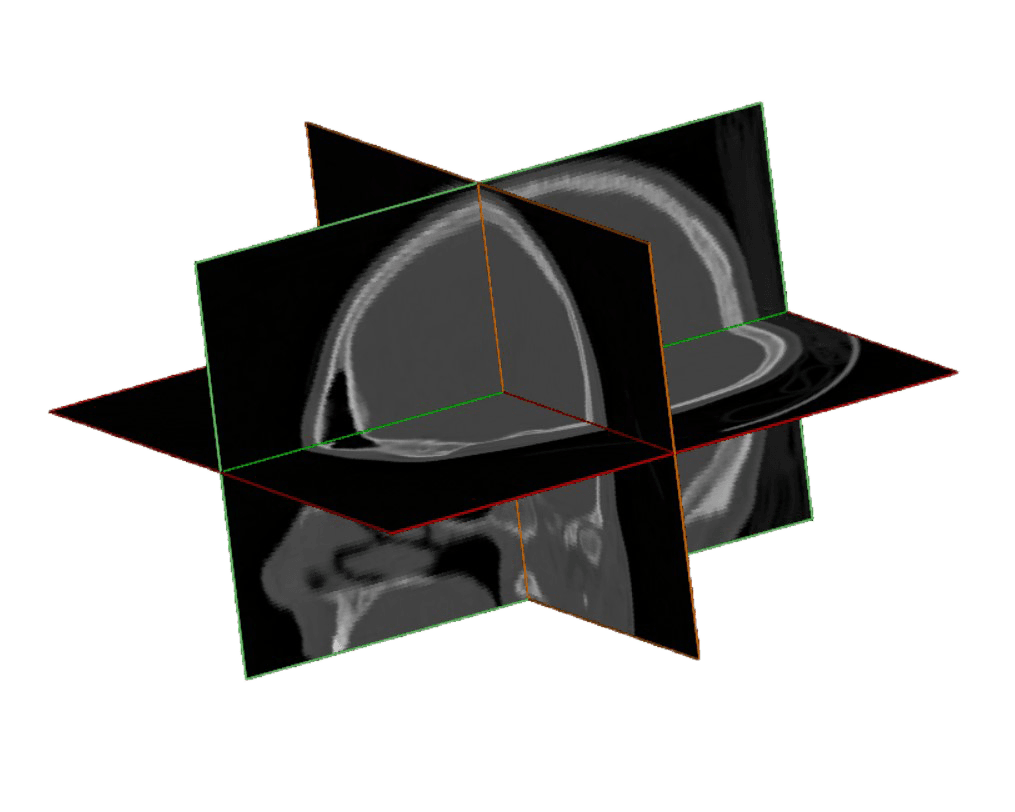
We combine these slices in 3-Dimensions (Axial, Sagittal & Coronal planes) as in the image to the left.
The entire series put together results in a comprehensive 3D view.
Step 3
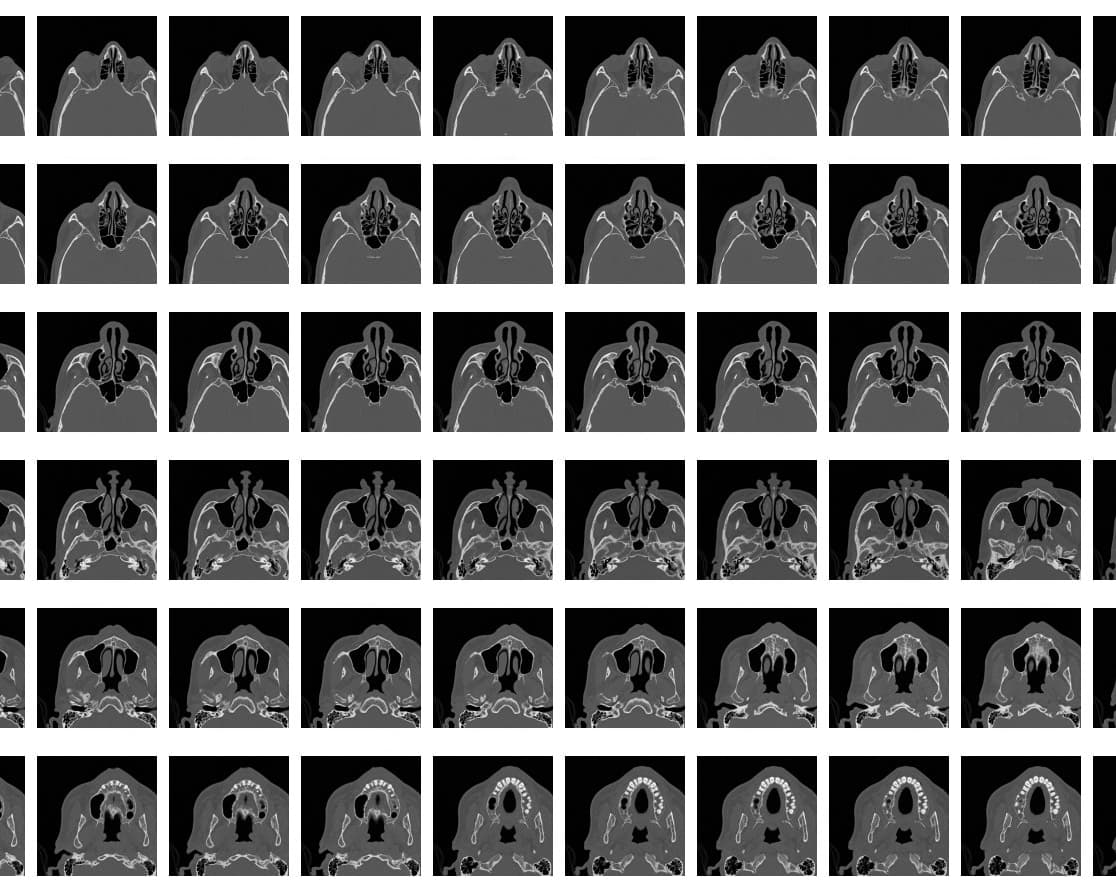
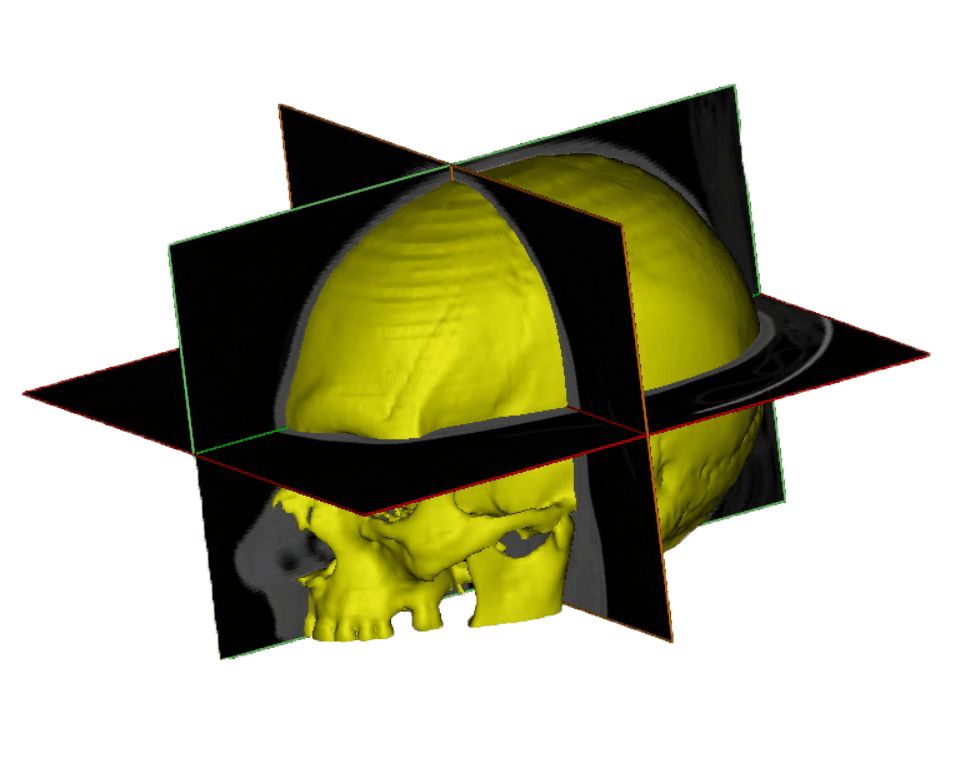
Using specialized software, we isolate the body tissue of interest within the slices.
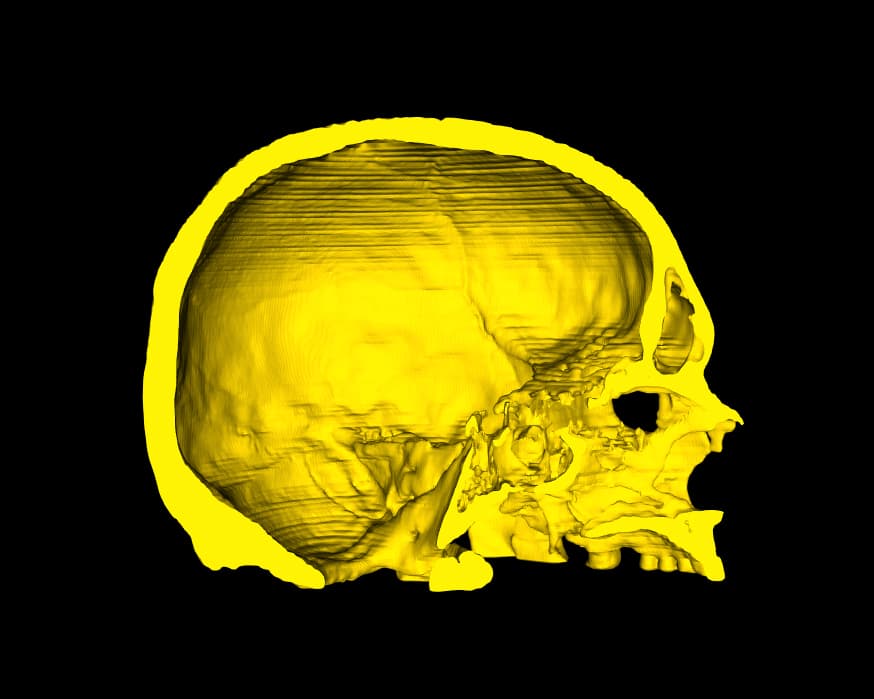
Ultimately, a 3D computer model of the tissue is created, as with the cranium to the left.
The higher the density of the slices, the more detail is captured in the 3D model.

Step 4
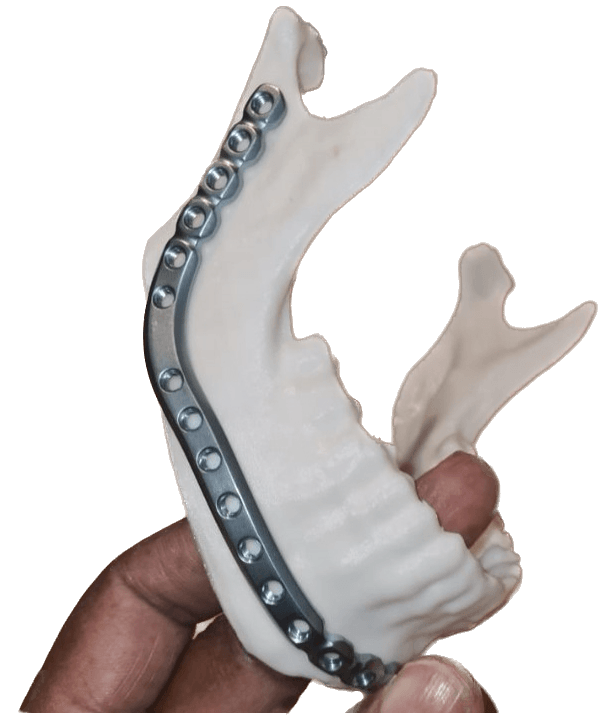
The 3D computer model is converted to code that a 3D printer can interpret.
A 3D printer capable of producing physical models with high accuracy, is used to manufacture the model.
We deliver the model to you once complete.
Benefits of Patient-Specific Anatomical Models
Access to a tangible, scale model of what is inside the patient allows doctors to visualize and explore the ailment or injury in real space and reach a much more comprehensive understanding of their patient's injuries, and in turn determine the optimal treatment for each diagnosis.
