Cropping Models
Med 3D features cropping functions in two situations:
- Cropping Volumes: Clip 3D Volumes created when a Medical Colour Preset is applied to a series of Dicom Images.
- Cropping Models: Clip 3D Meshes created from the Generate 3D Model function.
Both functions feature a cube widget with a handle on each face. Select a handle and drag inwards to specify the region where the crop function is executed. You can also select any face on the cube, and rotate the widget. This gives you flexibility to specify the region you want clipped, in all directions.
At the top left, find an Accept button and Cancel button. Once you have specified the area you want cropped with the widget, select Accept to clip the volume/model. Select cancel to restore the volume/model without any changes.
The differences in cropping volumes & models are explained in detail below.
Cropping Volumes
As in the image below, select a handle and drag inwards up to the region of the 3D Image that you want to keep. Once you are satisfied, select Accept to clip the volume, or Cancel to restore the volume.

Inverted Crop
As the name describes, this option works in reverse to how the crop volume function works. In this case, the region specified by the cube widget is clipped, and not kept. This difference is illustrated when the two images above, are compared to the process highlighted in the two images below.
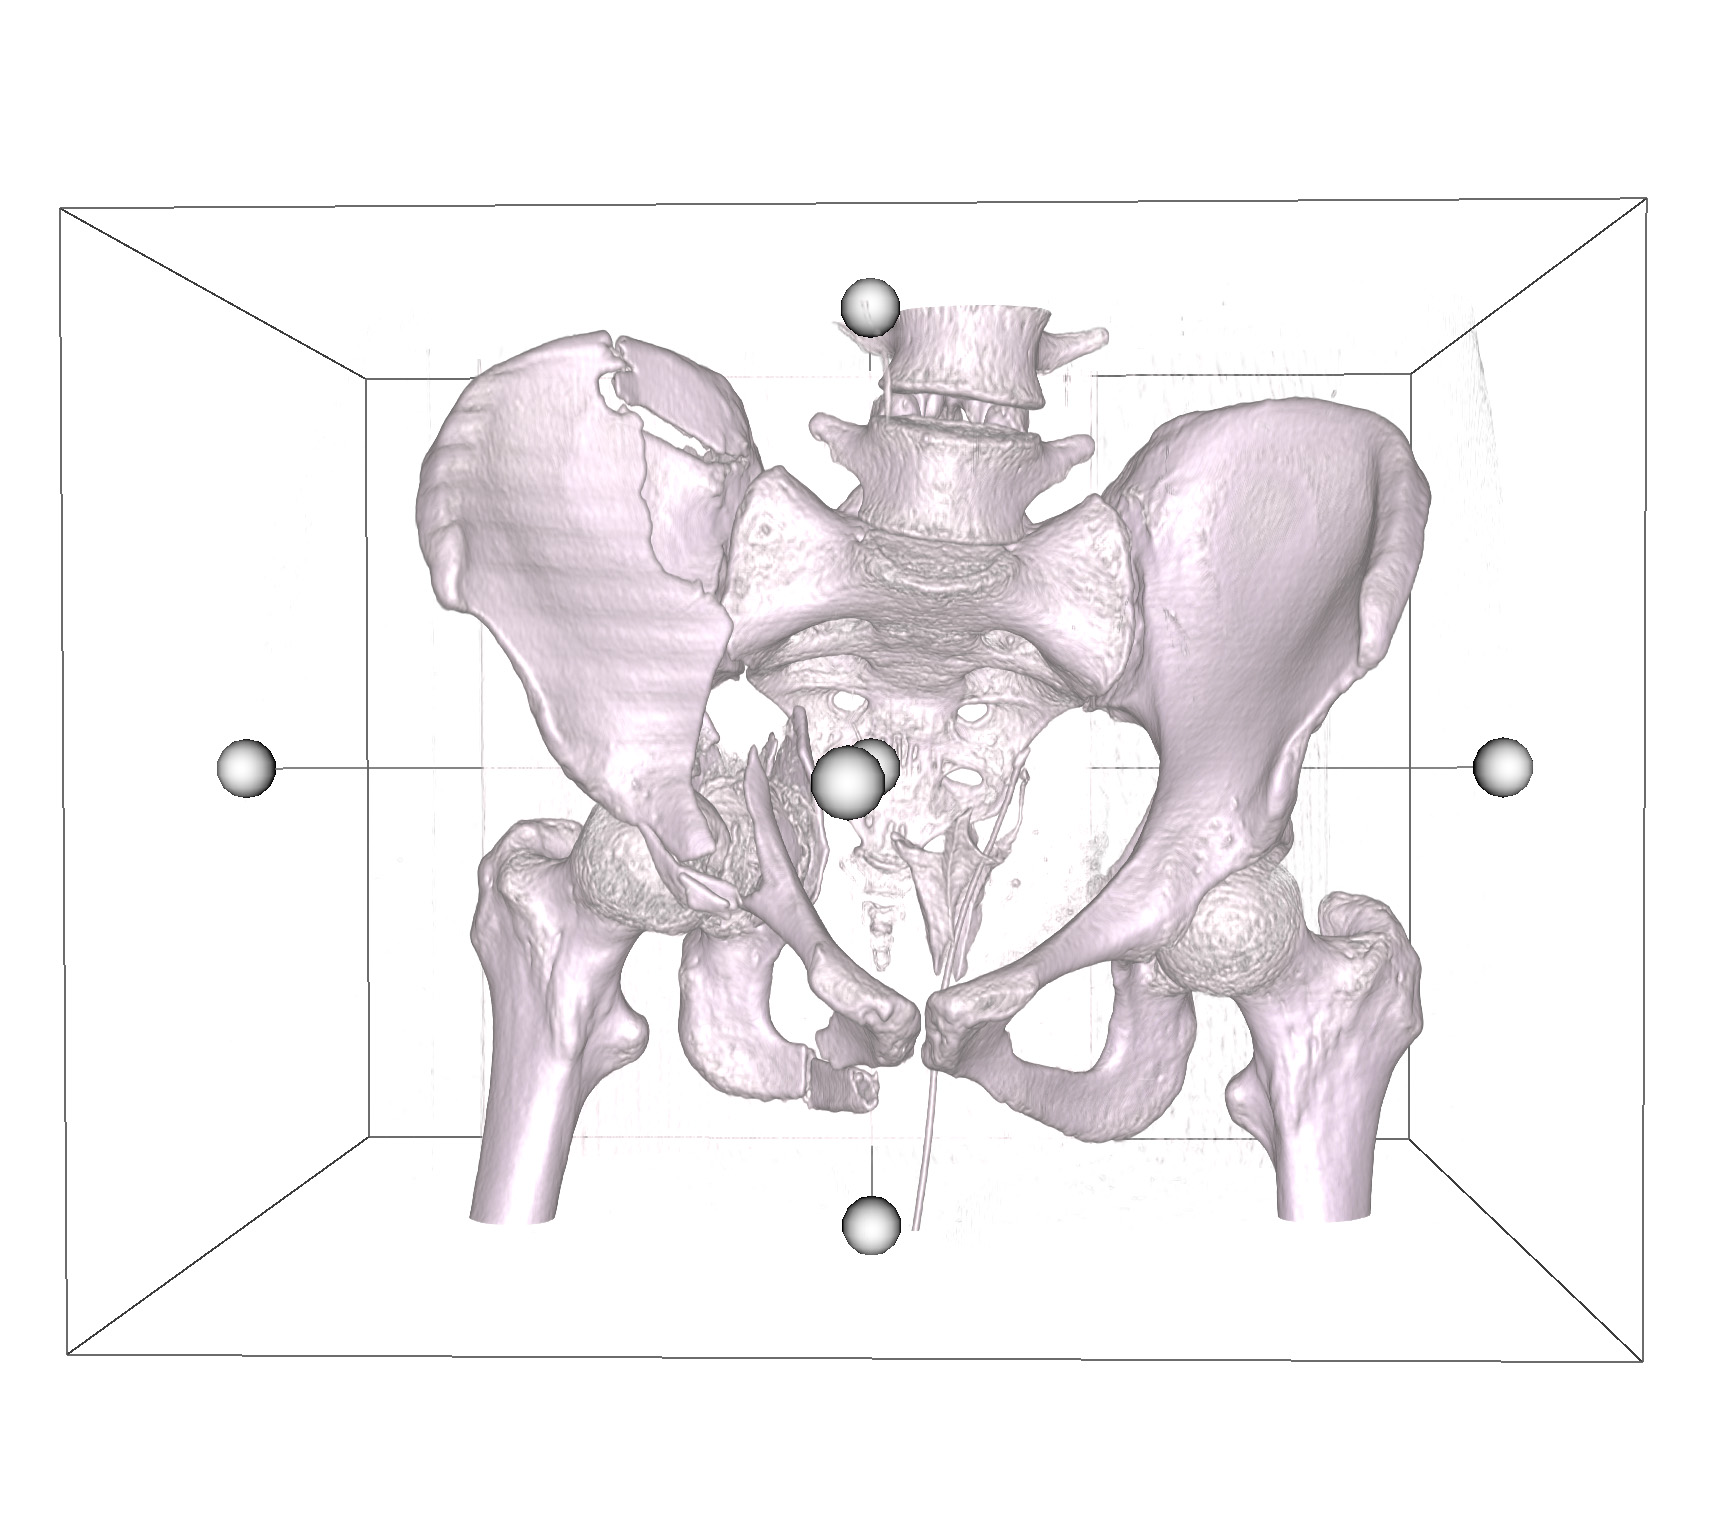
Cropping Models
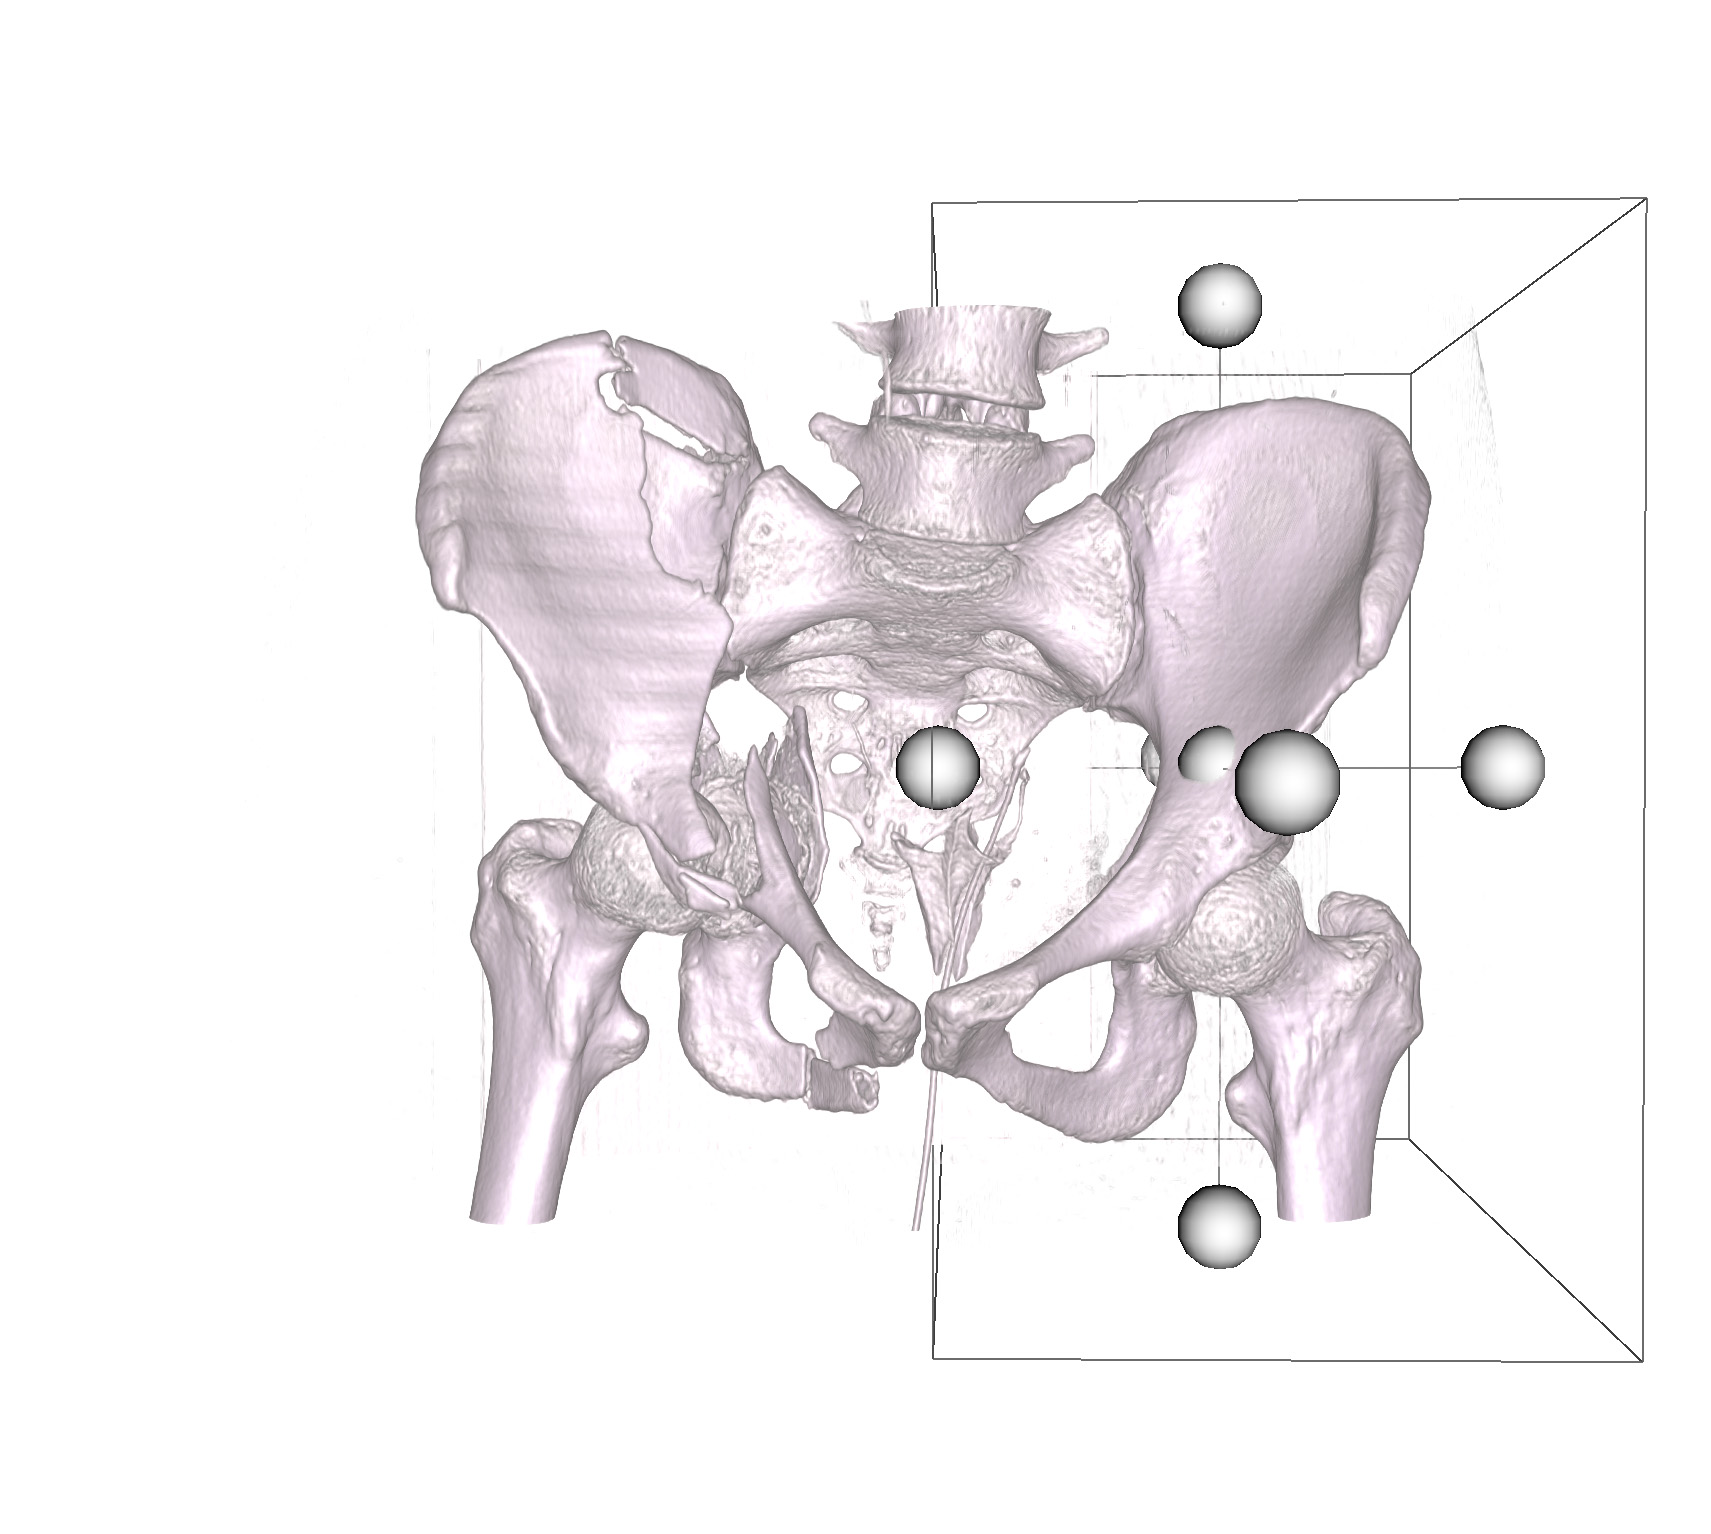
In the case of 3D Meshes, once a handle is drag inwards to specify the region you want to keep, a preview of what remains and what is cropped out is generated in real-time. A wireframe representing the region to be clipped is created, as in the second image below.
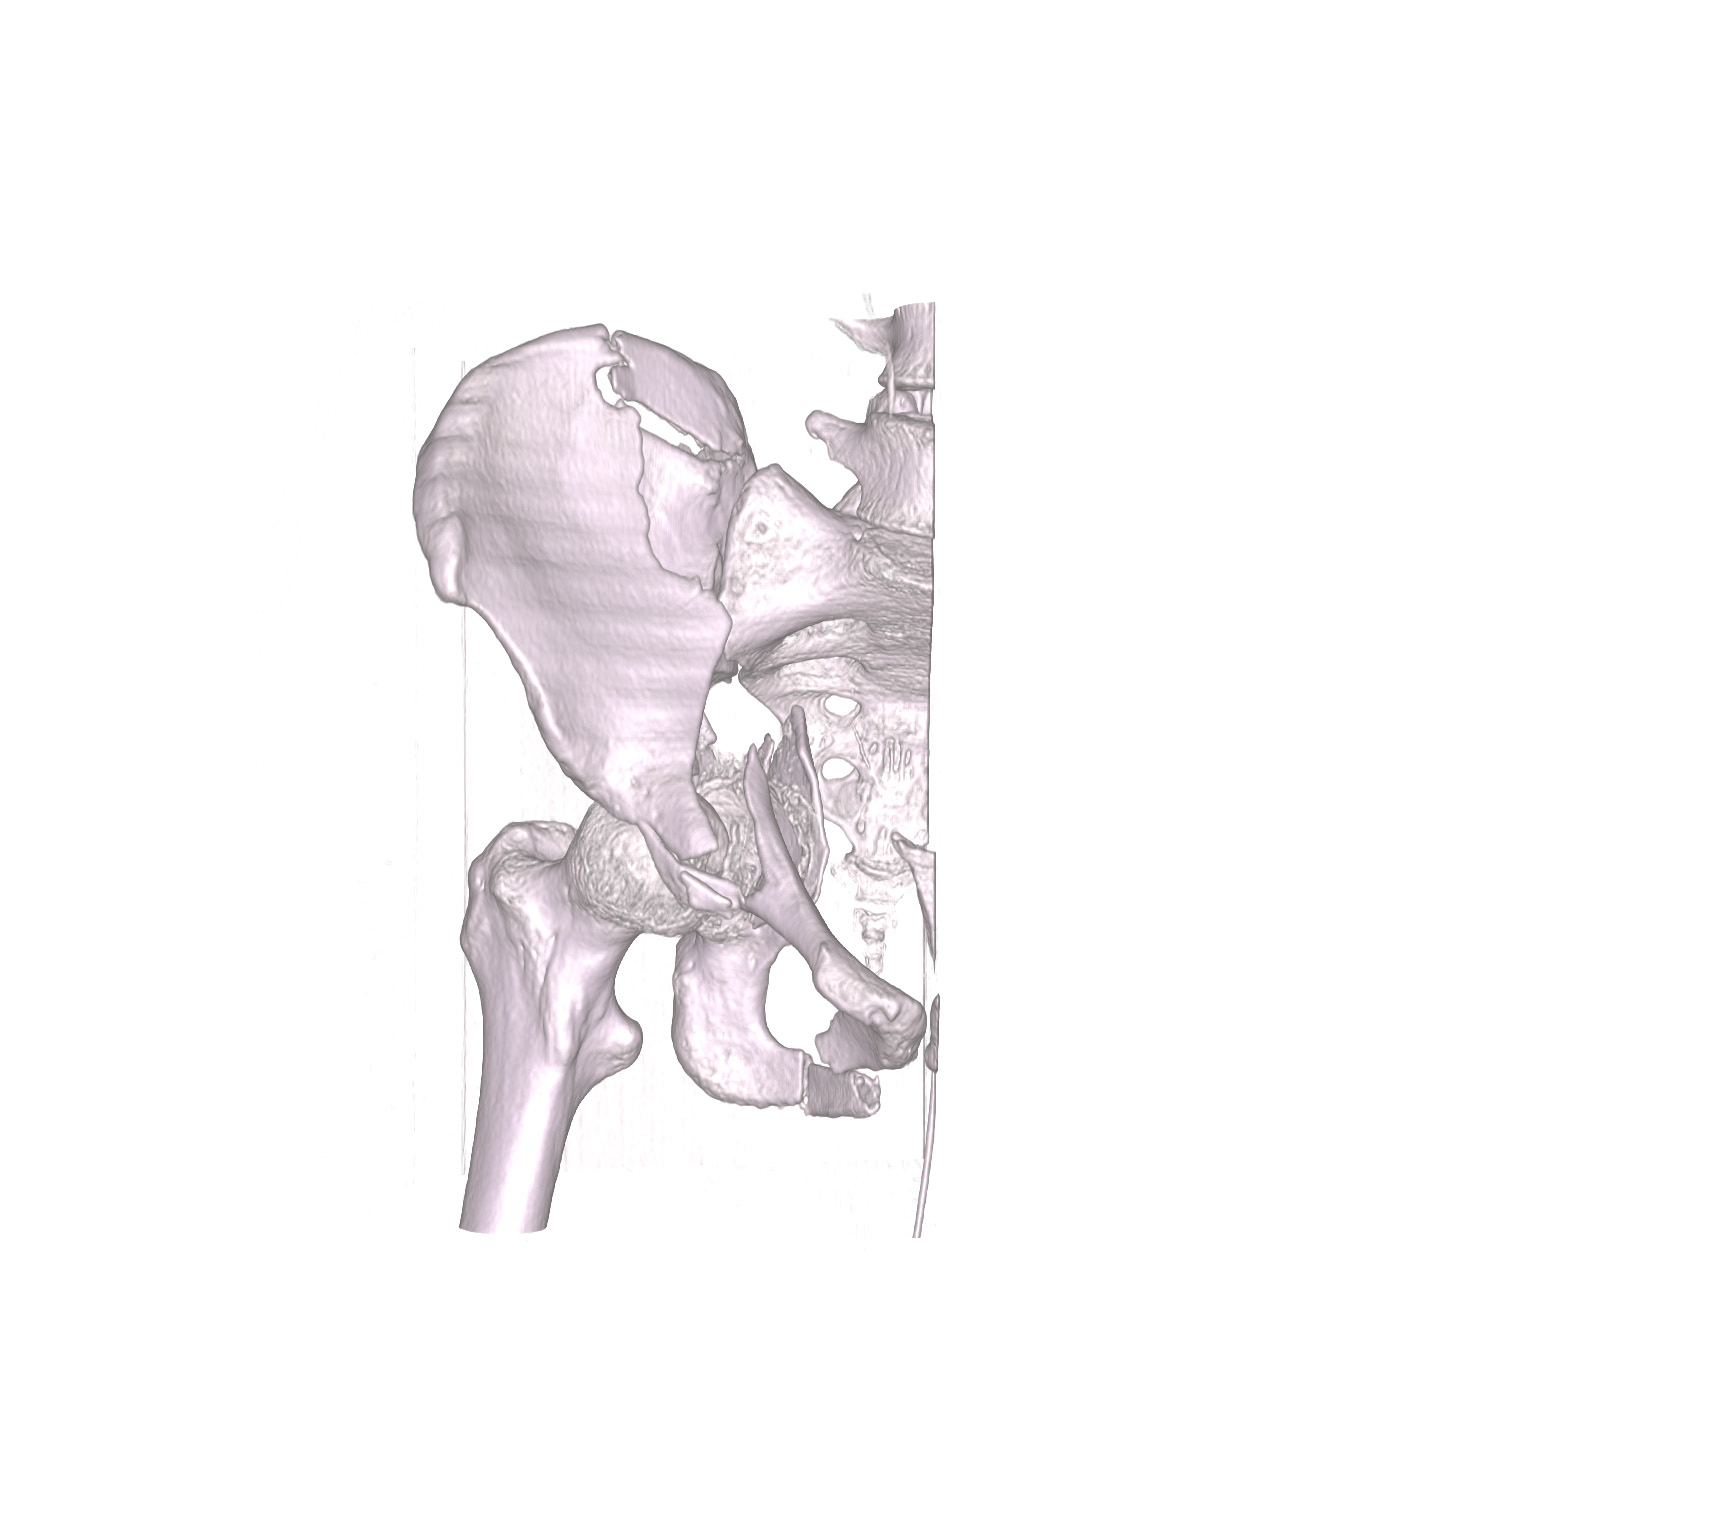
Once you are satisified with the preview, select Accept to perform the crop operation, or Cancel to undo any changes.


After a crop is applied, any surface clipped by the widget, is filled with a flat surface corresponding to the respective cube face.