Getting Started
1. Import Dicom Images
Once the application is started, on the menu bar, select File -> Import Medical Images. A dialog box will open, allowing you to select the location of the Dicom Images in your computer.
Select the folder containing the images. The application will sort the Images into their respective series, and give you a preview of each, as illustrated in the image below. A summary of each series including the number of images, patient names, study description, series description and modality are provided. Select the series you wish to import, and Open.

2. Medical Colour Presets
Once the selected series is loaded, apply a Medical Colour Preset to gain a quick view of the loaded images in 3D.
Select the Apply Colour Preset button to view the available colour presets in a dropdown menu. Colour presets for the CT & MRI Modalities are provided. Choose the option that best fits your region of interest.
A good start for CT images would be CT-AAA or CT-AAA2 presets. Either of these presets would provide a general preview of the 3D Image. For MRI Images, the MRI-Default preset would provide a great general preview of the 3D Image.
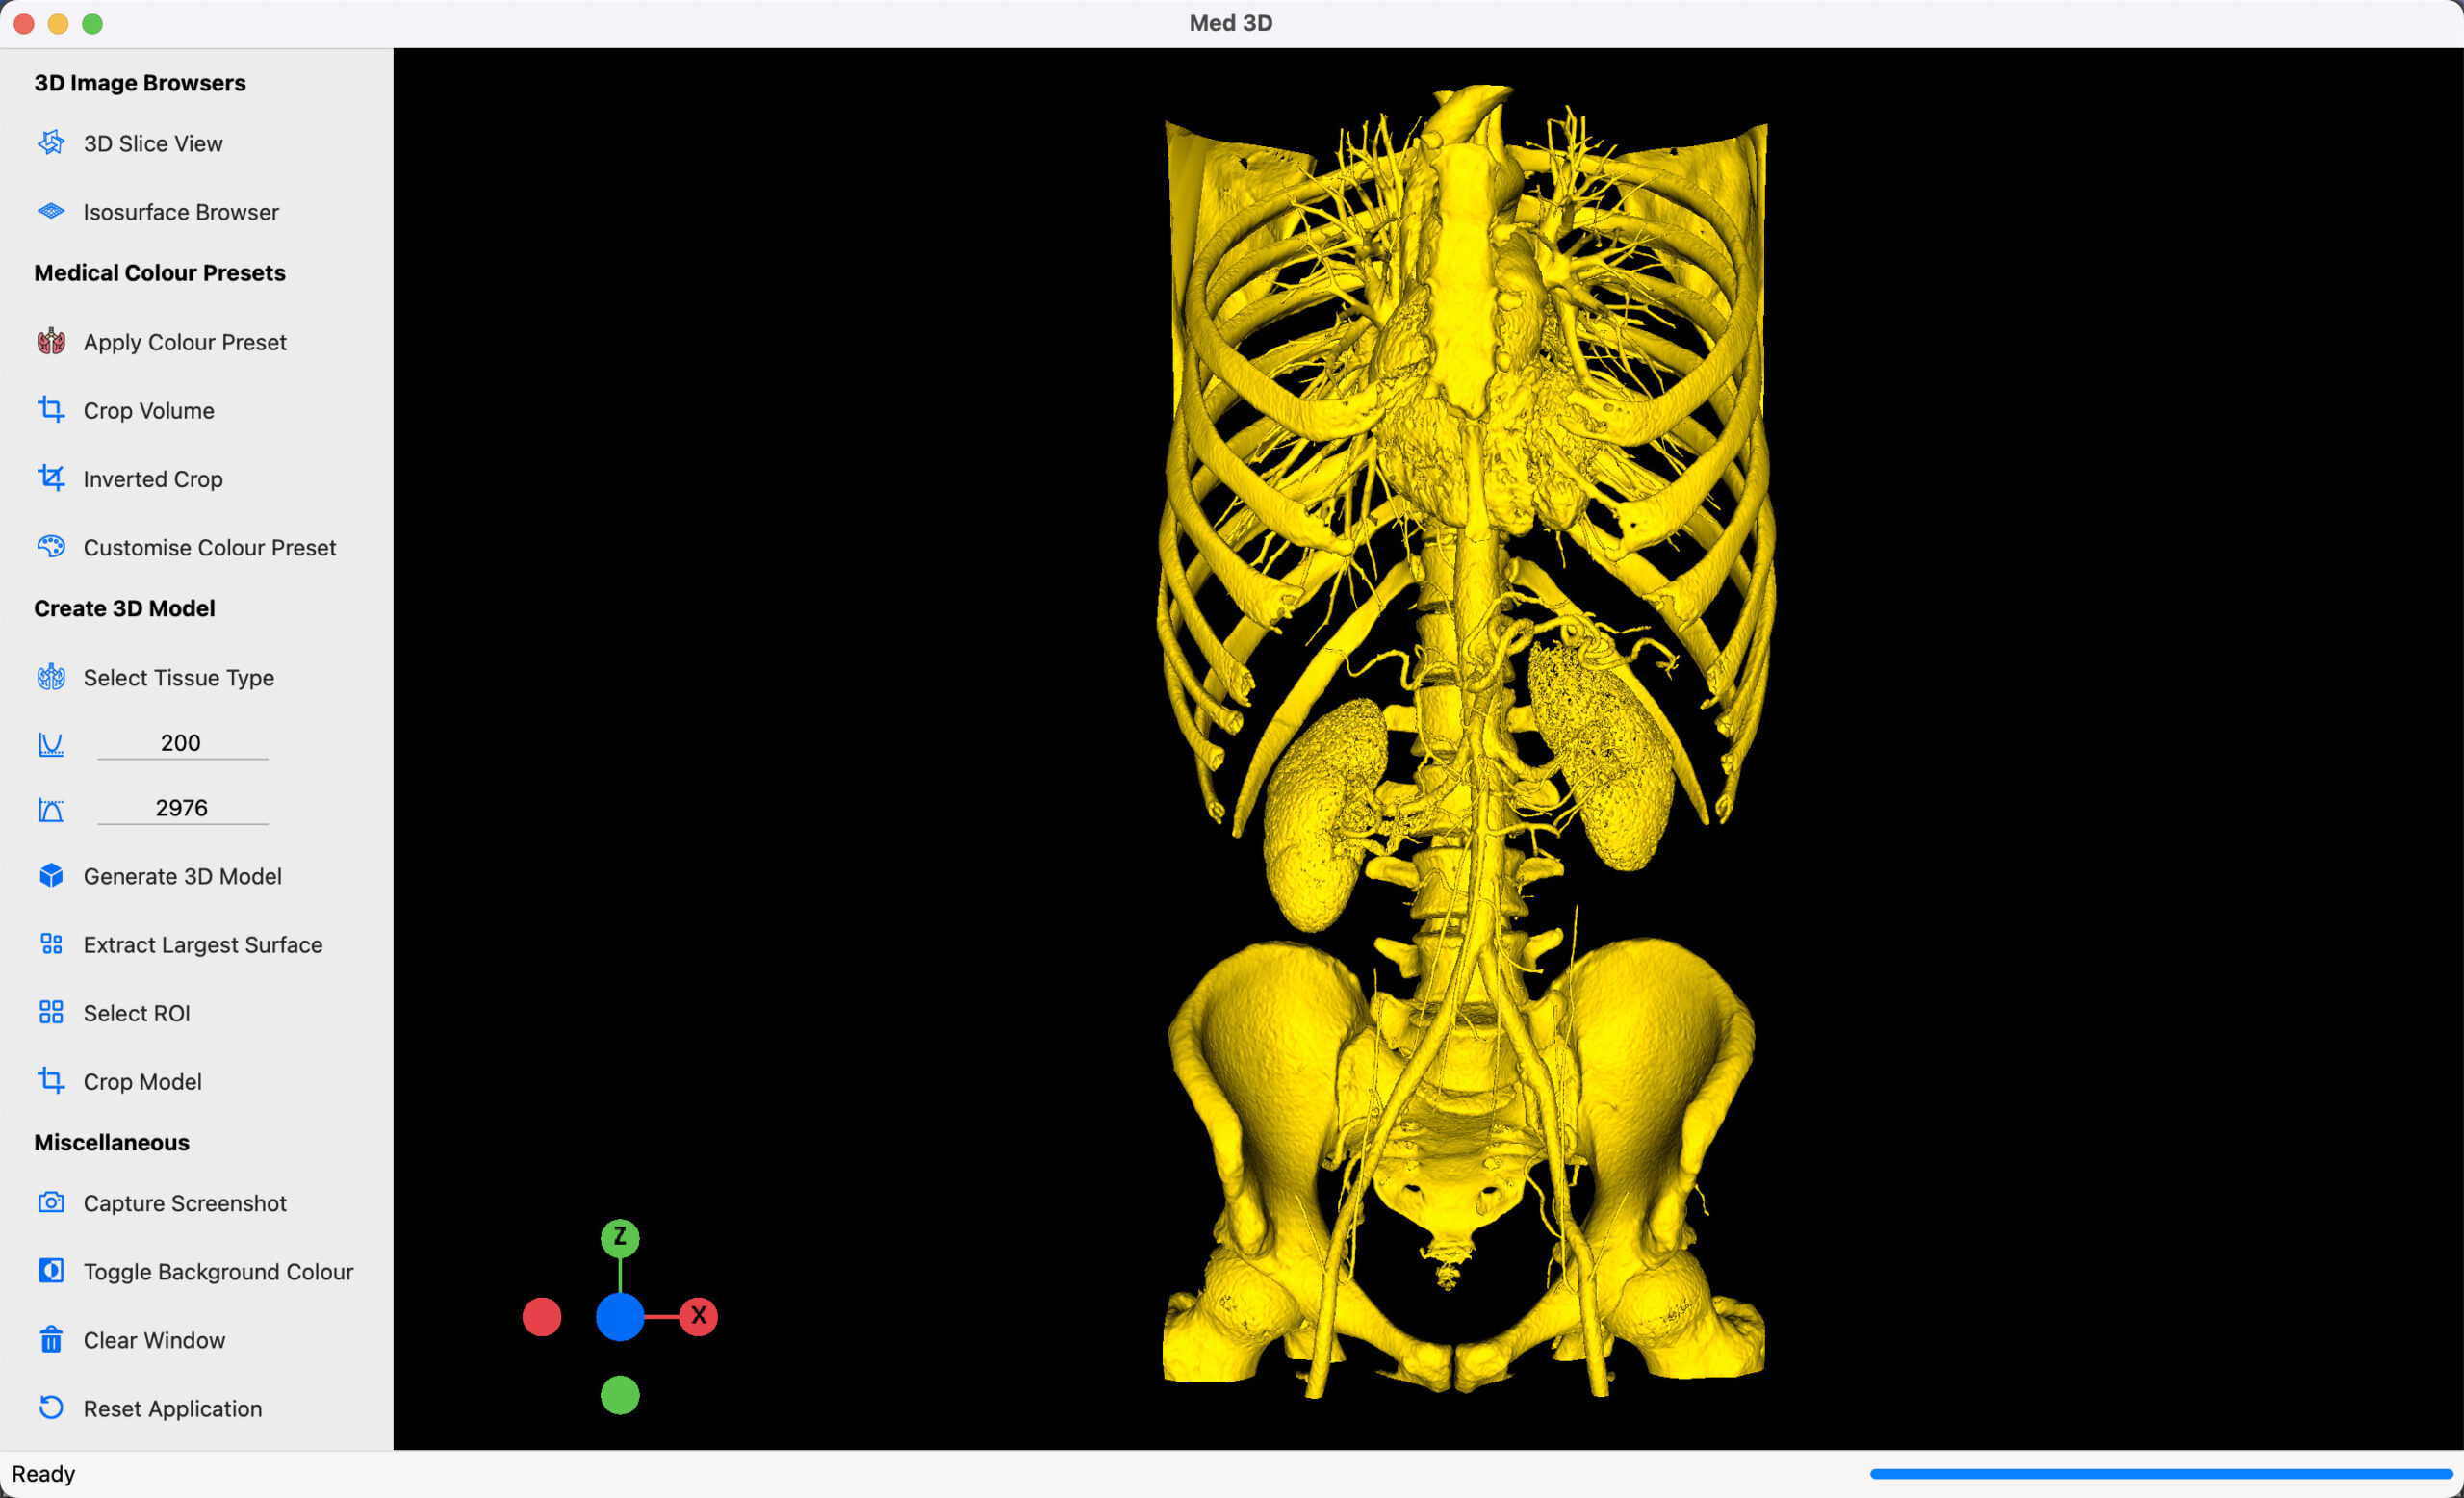
In the example below, the CT-AAA preset was applied. A Scalarbar is added to the right of the window, which gives a representation of the colormap applied to the Image, along with Intensity Values where the colour transitions are applied.
An orientation widget is added to the bottom left, which features handles in the X, Y and Z directions of the image. Select any of the handles, for a view of the 3D Image in the direction selected.

3. Create 3D Models
Once you are happy with the preview provided by the colour preset, you can use the options under Create 3D Model to generate a 3D mesh of a specified region in the 3D Image. From the colormap provided in the Preset Previews, you can determine the range of Intensity Values that you wish to use to create a 3D Model. A 3D Model is generated based on a pair of minimum and maximum intensity values. This pair provides a threshold, with values found within this range used to comprise the final 3D Mesh. Enter the Minimum and Maximum values, and select Generate 3D Model to preview a 3D Model. Adjust these values to narrow down to your region of interest.
Custom preset threshold values are also provided by the Select Tissue Type button. Select this, and a dropdown menu listing different preset values based on distinct regions of interest are provided. This list is divided into CT and MRI presets. Choose any of the options, and select Generate 3D Model to view the resulting 3D Mesh. These presets provide a good starting point, from which you can refine the threshold values further.
**Note: The MRI preset values are experimental, and manual refinement of the final minimum and maximum threshold values will be required.
4. 3D Window Controls
There are 3 main controls applicable to 3D models:

Rotate
Mouse Windows/Mac:
Press & Hold Left-Button, and rotate
Touchpad Windows:
Press & Hold Left-Button with one finger, and rotate with another
Touchpad Mac:
Press & Hold touchpad down with one finger, rotate with another
Pan/Translate
Mouse Windows/Mac:
Press & Hold Scroll Button, and translate
Touchpad Windows:
Press & Hold Left-Button with three fingers, and translate model *
Touchpad Mac:
N/A*

Zoom In/Out
Mouse Windows/Mac:
Press & Hold Right-Button, move up to zoom in or move down to zoom out
Touchpad Windows:
Press & Hold Right-Button with one finger, and with a second finger, push up to zoom in or push down to zoom out
Touchpad Mac:
Press & Hold touchpad down with two fingers, push up to zoom in or push down to zoom out
* If three-finger click is not enabled on your Windows touchpad, follow this Guide.
* Pan function is not possible with the Mac Touchpad.
Overall, manipulating motion in the 3D window is best with a three-button mouse. All controls are fully responsive with a Windows touchpad, and functionality is unlimited. However, with the Mac touchpad design, the translate function is unavailable, and a mouse would be recommended for complete control.
Orientation Widget
Alternatively, you can use the orientation widget found on the bottom-left of the window to quickly set the direction that the model/volume is facing. In the example below, the Y handle in blue is selected to instantly rotate the 3D Model 180 degrees. Select the handles, to manipulate the model to face any direction that you wish.


5. Miscellaneous
The buttons listed below have the following functions:
Capture Screenshot: Save a PNG Image of the 3D Scene.
Toggle Background Colour: Alternate between a Black (default), and white background for the 3D Scene.
Clear Window: Remove all models and widgets added to the 3D Scene.
Reset Application: Clear all models and widgets from the 3D Scene, as well as clear all loaded images and values from memory. Return the application to its default state, as on startup.